
CNC 101: Tips for Successful Machining With 3D Relief Textures
Introduction
CNC machining is a precision art form that relies heavily on the quality of tools and techniques used. When it comes to achieving exceptional results in CNC machining with 3D relief textures, understanding the nuances of this art is paramount. This article aims to provide you with a wide range of information, from machining tips to tool recommendations and best practices. So, let's dive into the world of CNC 101 with a focus on successful machining with 3D relief textures!
CNC 101: Understanding 3D Relief Textures
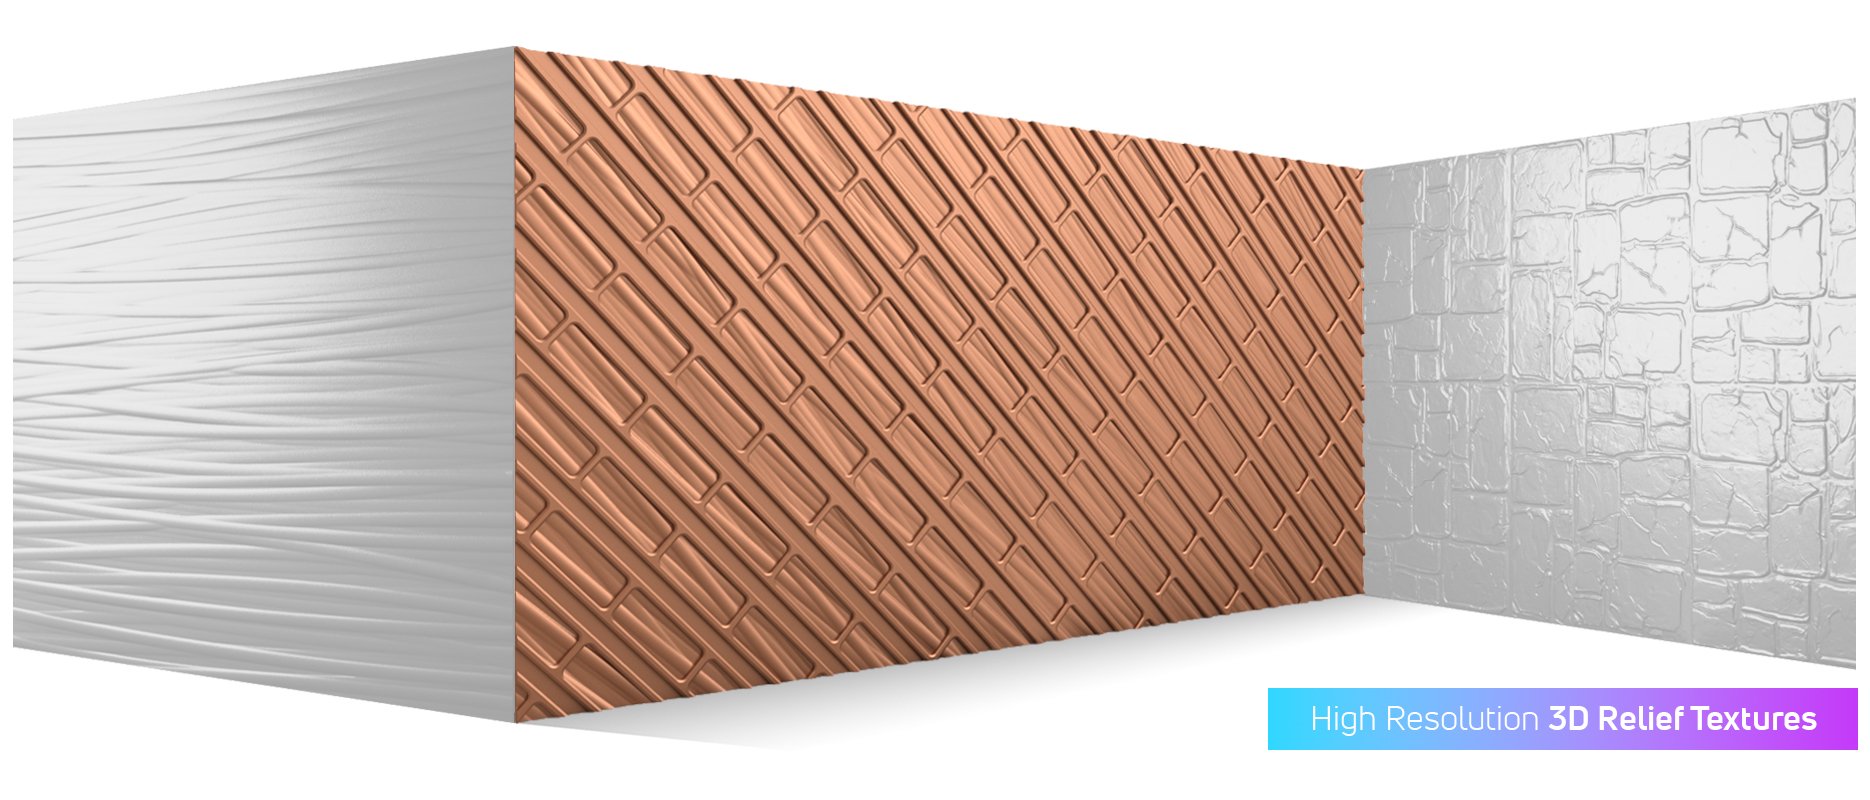
What Are 3D Relief Textures?
Before we explore machining tips and best practices, it's essential to grasp the concept of 3D relief textures. These are intricate three-dimensional patterns or complex designs that can be precisely carved onto materials, enhancing both their aesthetics and functionality. 3D relief textures find applications in various industries, including woodworking, metalworking, and even in the production of custom signs and sculptures.
Choosing the Right 3D Relief Texture
Selecting the appropriate 3D relief texture for your project is the first step toward successful machining. Each texture type offers unique characteristics, so it's crucial to match the texture with your specific project requirements.
Machining Tips for Excellence
Tip 1: Material Selection
The choice of material plays a pivotal role in CNC machining with 3D relief textures. Your selected material should align with the 3D relief texture and the intended purpose of the final product. Different materials, such as hardwoods, metals, and plastics, require specific machining techniques.
Tip 2: Precision Tooling
Investing in high-quality precision tools is a game-changer when it comes to CNC machining with 3D relief textures. Tools with sharp edges and durable materials ensure clean cuts and minimize wear and tear on your equipment. Look for carbide-tipped tools and diamond-coated bits for optimal results.
Tip 3: Feeds and Speeds
Understanding the optimal feeds and speeds for your CNC machine is essential. These settings significantly impact tool wear, material finish, and machining efficiency. Consult your machine's manual and conduct test runs to determine the ideal parameters.
Tip 4: Toolpath Planning
Efficient toolpath planning can make a substantial difference in your machining results. Utilize CAM (Computer-Aided Manufacturing) software to generate toolpaths that reduce tool changes, shorten machining time, and maximize precision.
Tool Recommendations
Recommended Tools for 3D Relief Textures
Selecting the right tools is crucial for achieving outstanding results in CNC machining with 3D relief textures. Here are some recommended tools that can enhance your machining experience:
Ball Nose End Mills: Ideal for intricate detailing in 3D relief textures.
Engraving Bits: Perfect for creating fine lines and intricate patterns.
Sculpting Tools: Versatile tools suitable for carving 3D relief textures with depth and dimension.
Best Practices for CNC Machining with 3D Relief Textures
Practice 1: Tool Maintenance
Proper maintenance of your CNC machining tools is vital for consistent performance. Regularly clean and inspect your tools for signs of wear and replace them when necessary. Dull tools can lead to subpar results and increased production time.
Practice 2: Material Fixturing
Securely fixturing the material being machined is essential for precision when working with 3D relief textures. Using clamps, vacuum systems, or specialized fixtures ensures that the material remains stable during the machining process, preventing errors and damage.
Practice 3: Testing and Prototyping
Before embarking on a large-scale CNC machining project with 3D relief textures, it's advisable to create prototypes and conduct tests. This helps identify potential issues and allows for adjustments in toolpath, feeds, and speeds.

FAQs (Frequently Asked Questions)
Q1: How can I determine the right 3D relief texture for my project?
Evaluate your project's requirements, including material, desired aesthetics, and intended use. Seek expert advice if you're unsure.
Q2: What is the lifespan of CNC machining tools?
Tool lifespan varies based on usage and maintenance. High-quality tools can last for thousands of machining hours with proper care.
Q3: Can 3D relief textures be applied to plastics?
Yes, 3D relief textures can be used on plastics, but it's crucial to select the right tools and settings to avoid melting or distortion.
Q4: What safety precautions should I take when working with CNC machines?
Always wear appropriate safety gear, including safety glasses and hearing protection. Familiarize yourself with the machine's emergency stop procedures.
Q5: Can CNC machining with 3D relief textures be used for mass production?
Yes, CNC machining with 3D relief textures can be applied in mass-production settings. Efficient toolpath planning and quality tooling are key to achieving consistent results.
Q6: How do I maintain the cleanliness of 3D relief textures?
Regularly clean 3D relief textures with a mild detergent and a soft brush. Avoid abrasive cleaners that could damage the texture.
Conclusion
In conclusion, mastering CNC machining with 3D relief textures is the key to achieving outstanding results in your projects. By understanding the intricacies of 3D relief textures, following machining tips, choosing the right tools, and implementing best practices, you can elevate your CNC machining game to new heights. Whether you're a seasoned professional or a beginner, these insights will help you create stunning, textured masterpieces with precision and finesse.
If you are ready to learn more about 3D relief textures, 3D relief shapes, real prismatic letters, custom 3D sign-making models, or where to and them, we would love to talk to you. Check us out online, contact us online, or call (618) 409-4400 to get in touch.